Coffee Shop
Before we dive in, make sure you have a text editor installed. Personally, I’ll be using Visual Studio Code for this tutorial.
Let’s get started! Begin by creating an empty folder. After that, navigate to the address bar and type “cmd”. This action will open a command prompt window. Once the command prompt is up and running, enter the following command: “code .” This command will launch Visual Studio Code in the current directory.
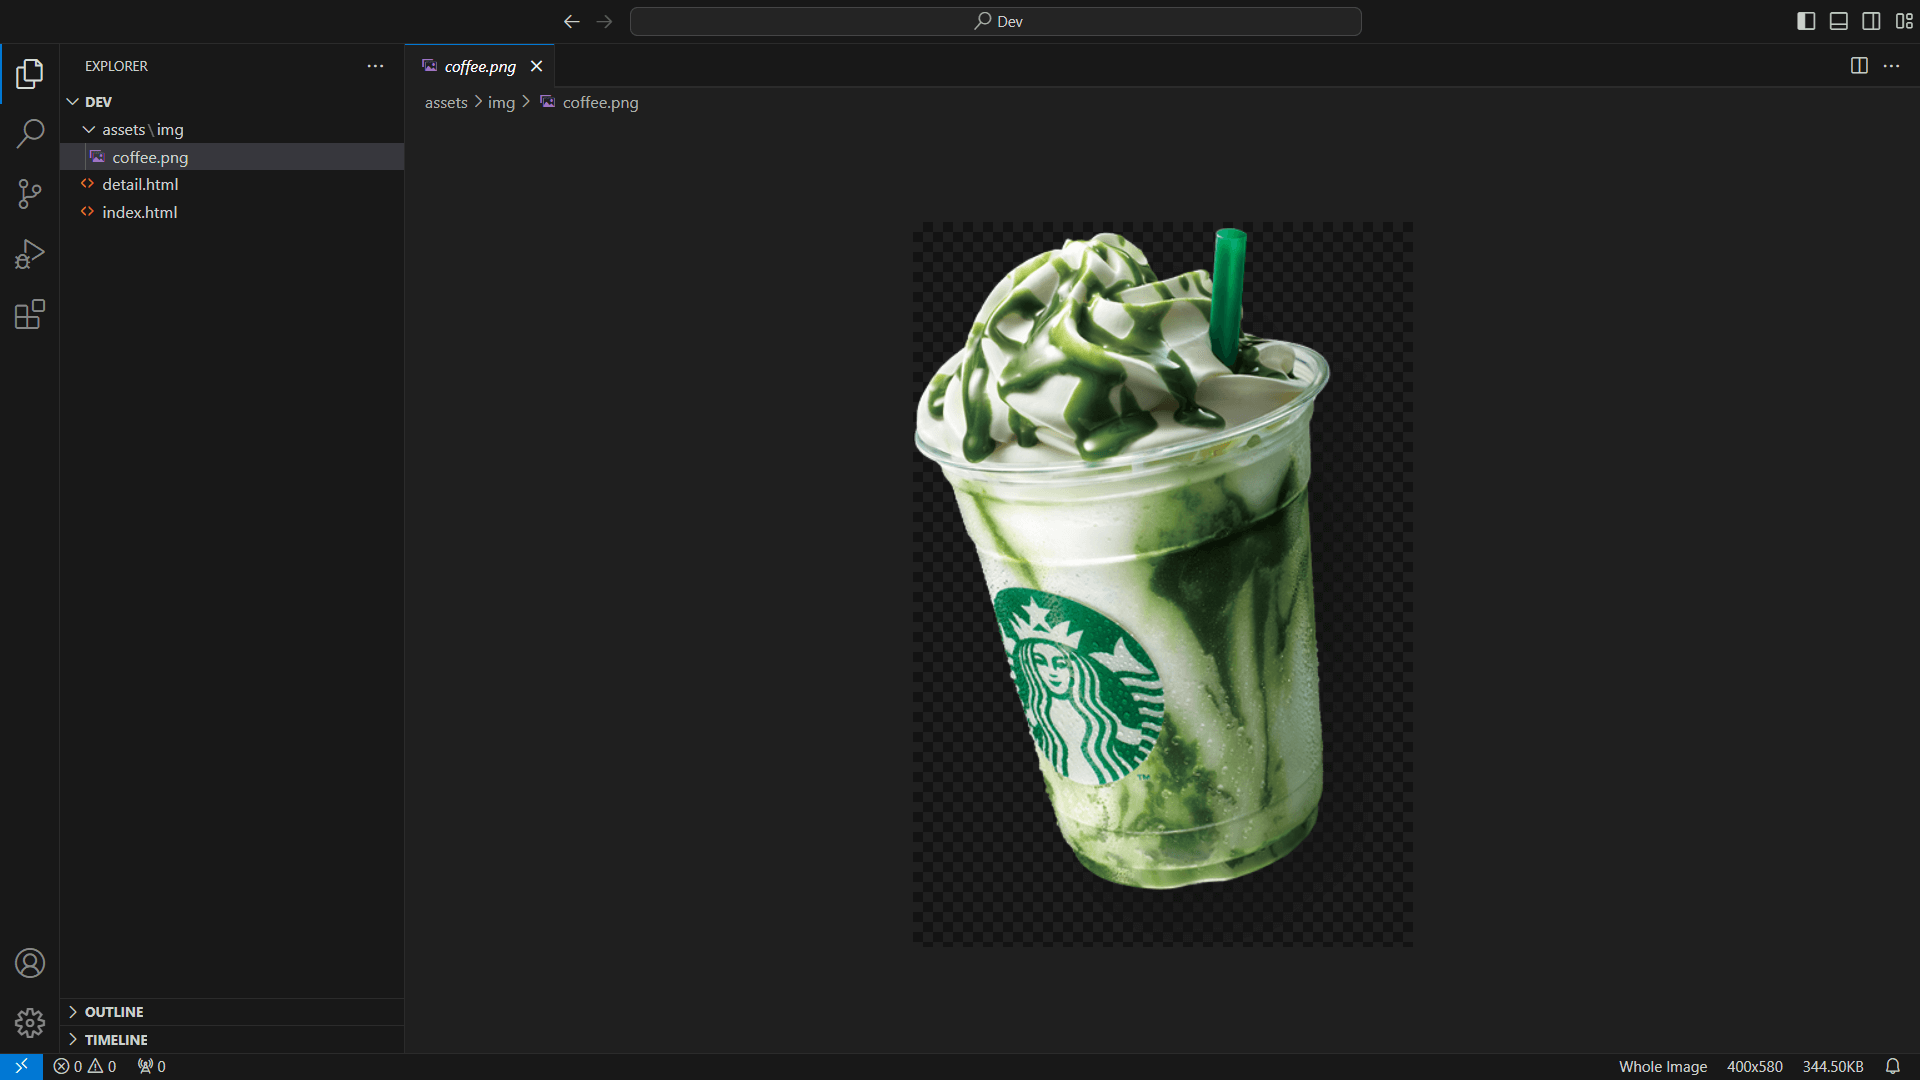
Within your folder, go ahead and start by creating fresh files named as “index.html” and “detail.html”. Additionally, create a new directory and give it the name “assets”. Inside the “assets” directory, create another folder named “img.” This designated “img” folder will serve as the repository for all your image files.
In your “index.html” page, simply type an exclamation mark (!) and then press the Enter key. This action will automatically generate the boilerplate HTML code for you. You can then begin writing your own code within the <body> tag.
Next, within the <title> tag of your HTML document, include the name of your webpage. Once you’ve made this update, you can save the file and then open it using Google Chrome to see the changes in action.
For our next step, let’s begin by creating the HTML markup for all of our design elements. To structure our layout effectively, we’ll use a parent <div> element with a class of “wrapper.” All other elements will be children of this “wrapper” element. This “wrapper” class plays a crucial role in helping us format and position our elements as desired.
In this step, we’ll utilize the following HTML elements for various parts of our design:
- Use the <h1> tag for the heading. To add highlight styling, include a <span> element within it.
- Employ the <p> tag for paragraphs.
- Create a button using the <a> tag. Remember to specify the path of the page you want it to redirect to in the href attribute.
<body>
  <div class="wrapper">
    <div class="content">
      <h1>
        It's not just Coffee, <br />
        It's <span>Starbucks</span>
      </h1>
      <p>
        Lorem ipsum dolor sit amet, consectetur adipiscing elit, sed do eiusmod
        tempor incididunt ut labore et dolore magna aliqua. Ut enim ad minim
        veniam, quis nostrud exercitation ullamco laboris nisi ut aliquip ex ea
        commodo
      </p>
      <a href="detail.html" class="btn">Learn More</a>
    </div>
    <div>
      <img src="assets/img/coffee.png" alt="" />
    </div>
  </div>
</body>
I completely agree; it’s looking a bit out of place at the moment. But no worries, we can make it shine with some CSS magic! Let’s move on to the next steps and start styling our elements to give them a more polished and cohesive appearance.
To apply styles directly to our HTML document, we’ll add a <style> tag within the <head> section. This is referred to as Internal or Embedded CSS. It allows us to define our styles within the HTML document itself.
Let’s get rid of those default margins on the <body> element to create a cleaner canvas. This will ensure that there are no unwanted margins around our content.
Then we will add our font. I chose Poppins from google fonts you can choose any font of your choice.
@import url("https://fonts.googleapis.com/css2?family=Poppins:wght@400;700;900&display=swap");
body {
  margin: 0;
  font-family: "Poppins", sans-serif;
}
To understand more about margins and paddings please review CSS Box Model.
Our goal is to make our banner occupy the entire screen and ensure that the content is perfectly centered. To achieve this, we’ll apply some CSS to our “wrapper” class.
.wrapper {
  margin: auto; /*center aligned*/
  display: flex; /*create flexbox*/
  width: 1320px; /* wrapper maximum width*/
  height: 100vh; /* wrapper total height*/
  align-items: center; /* vertically align child items to center*/
  justify-content: space-between; /* Child items will have space between them*/
}
.wrapper .content {
  width: 60%;
}
This adjustment positions all of our elements exactly where we want them to be.
We’re almost there! To give our webpage that finishing touch, we’ll add a touch of CSS to make it more visually appealing. We’ll create style rules for the heading, paragraph, and button separately.
Here’s the final HTML:
<html>
  <head>
    <title>Client Blog</title>
    <style>
      @import url("https://fonts.googleapis.com/css2?family=Poppins:wght@400;700;900&display=swap");
      body {
        margin: 0;
        font-family: "Poppins", sans-serif;
      }
      .wrapper {
        margin: auto;
        display: flex;
        width: 1320px;
        height: 100vh;
        align-items: center;
        justify-content: space-between;
      }
      .wrapper .content {
        width: 60%;
      }
      .wrapper h1 {
        color: #333;
        font-size: 64px;
        line-height: 90px;
        margin: 0;
      }
      .wrapper h1 span {
        color: #00683f;
        font-size: 80px;
      }
      .wrapper p {
        font-size: 20px;
      }
      .wrapper .btn {
        background: #00683f;
        color: #fff;
        text-decoration: none;
        padding: 16px 60px;
        border-radius: 35px;
        display: inline-flex;
        margin-top: 30px;
      }
    </style>
  </head>
  <body>
    <div class="wrapper">
      <div class="content">
        <h1>
          It's not just Coffee, <br />
          It's <span>Starbucks</span>
        </h1>
        <p>
          Lorem ipsum dolor sit amet, consectetur adipiscing elit, sed do
          eiusmod tempor incididunt ut labore et dolore magna aliqua. Ut enim ad
          minim veniam, quis nostrud exercitation ullamco laboris nisi ut
          aliquip ex ea commodo
        </p>
        <a href="detail.html" class="btn">Learn More</a>
      </div>
      <div>
        <img src="assets/img/coffee.png" alt="" />
      </div>
    </div>
  </body>
</html>
And we are done. This is the final look of the page
